
Update: Google has announced that they will discontinue Google Optimize on September 30, 2023.
A/B testing is a great way to challenge data assumptions. It’s a technique to de-risk business decisions through experimentation without touching the ‘live’ environment.
Simply put, A/B testing (or split testing) is comparing the performance of 2 versions of a web page that runs concurrently with equal traffic.
A – Original web page -> 50% of page traffic
B – Variant of the original web page that changed -> 50% of page traffic

What is Google Optimize?
Google Optimize is a free tool from Google that enables you to create A/B tests. It’s easy enough to get started. Some A/B tests are simple that heavy development work is not needed and you don’t need to bother your web developer. Here’s a Google Optimize tutorial to get started.
If you’d like to learn about A/B testing, here are some conversion rate optimization books to get your feet wet. Conversion optimization is a broad topic and A/B testing is a large part of it.
Start A/B tests in Google Optimize
Important note: Installing Google Optimize is not covered in this post.
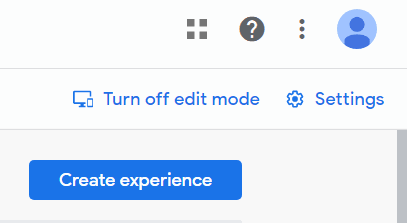
Step 1 – Click ‘Create experience’ in the main view.
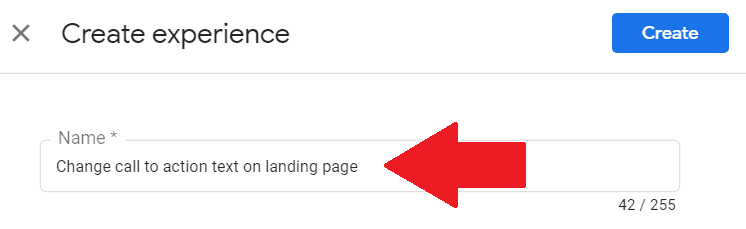
Step 2 – Name your experiment. Make a meaningful name like “Change call to action text on landing page”. Avoid names like ‘Test 01’.
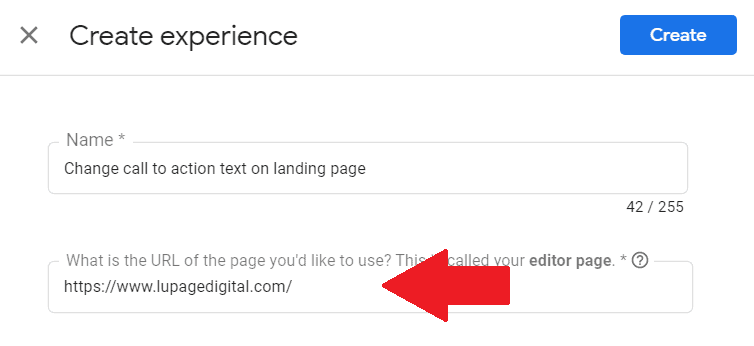
Step 3 – Input the URL you like to test under “What is the URL of the page you’d like to use? This is called your editor page.”
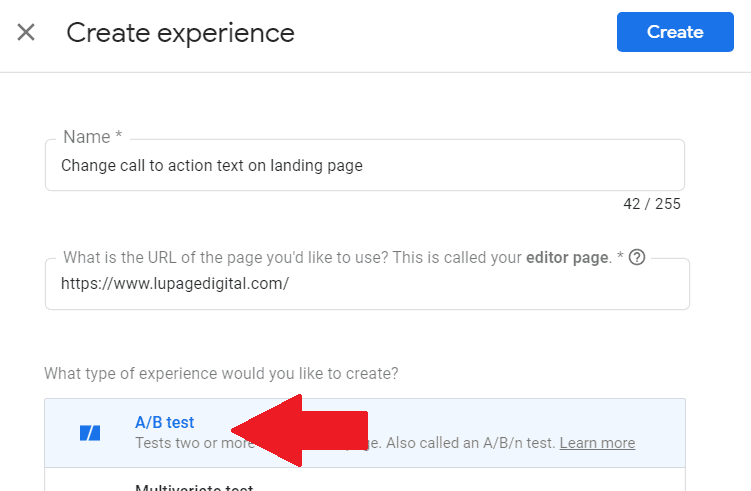
Step 4 – Click ‘A/B test’
Step 5 – Click ‘Create’
Once inside…
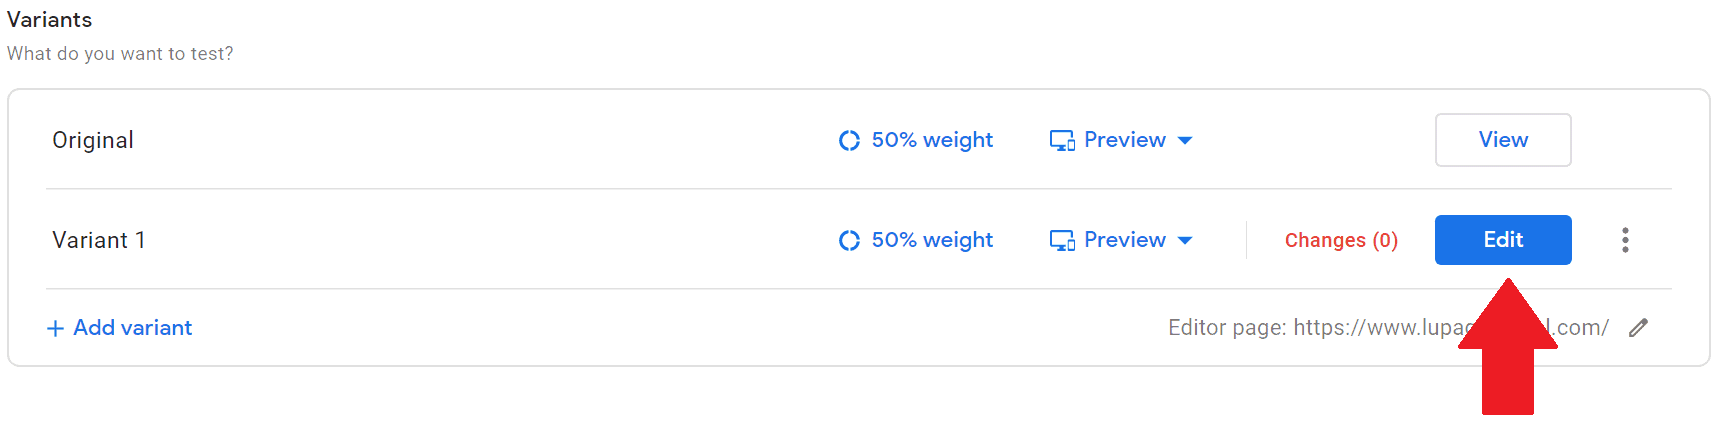
Step 1 – Click ‘Add variant’
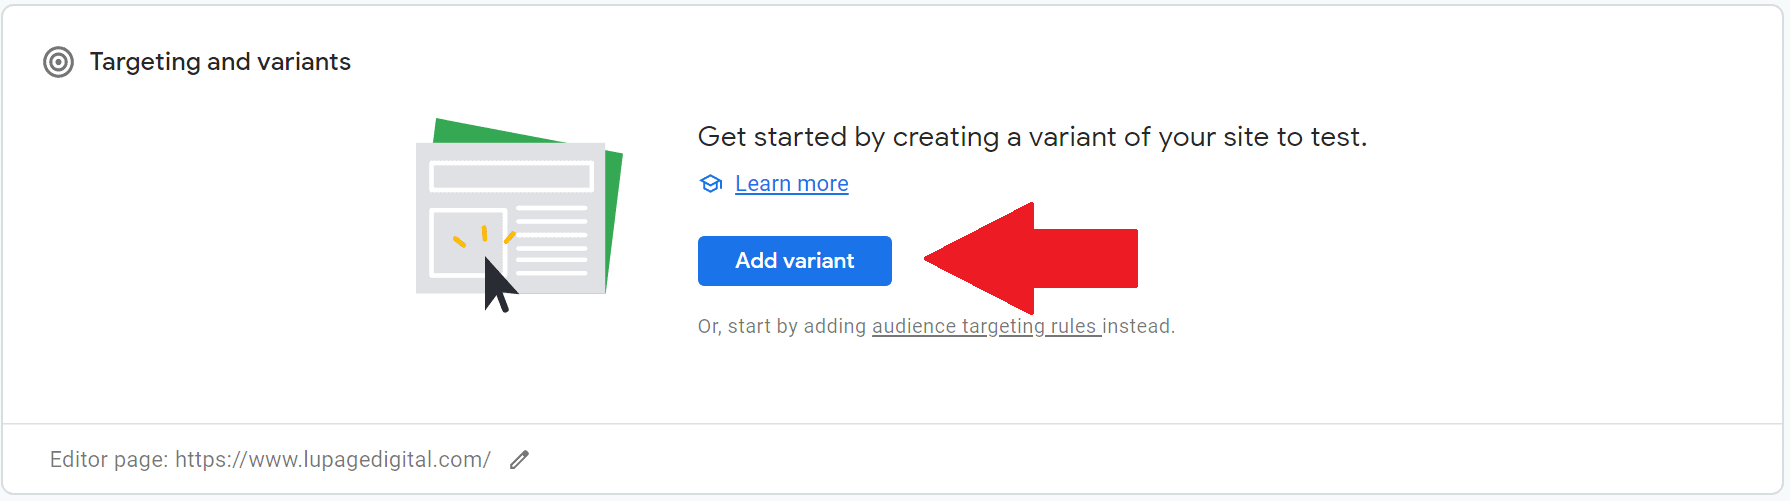
Name the Variant. Just call it ‘Variant 1’
Step 2 – Go to ‘Page targeting’. As a default, leave this alone if the A/B test is simple and is on 1 page only.

Step 3 – Go to ‘Audience targeting’. As a default, you leave this empty if the A/B test is simple and is on 1 page only, across all channels and devices. This is to have a large and random sample for your test.

Consult with a web analyst if there’s a specific segment to run the test with. This part is tricky it requires an advanced understanding of the A/B test.
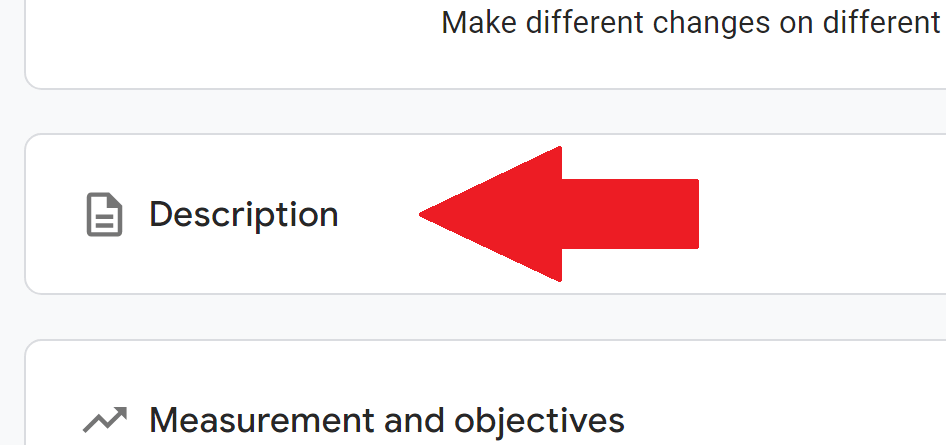
Step 4 – Scroll down and you’ll see ‘Description’. Add your hypothesis here.
___________________________________________________________
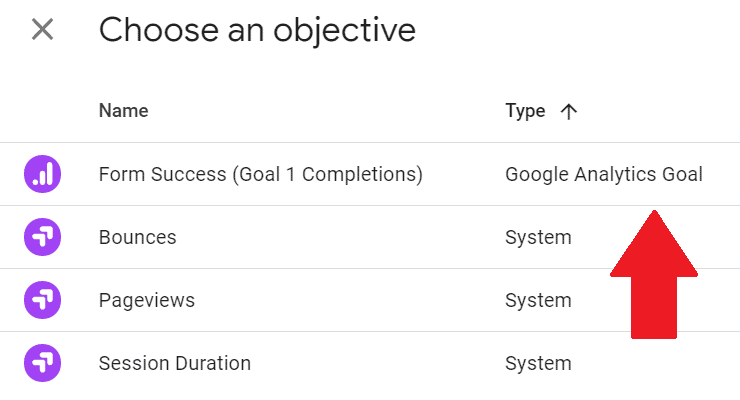
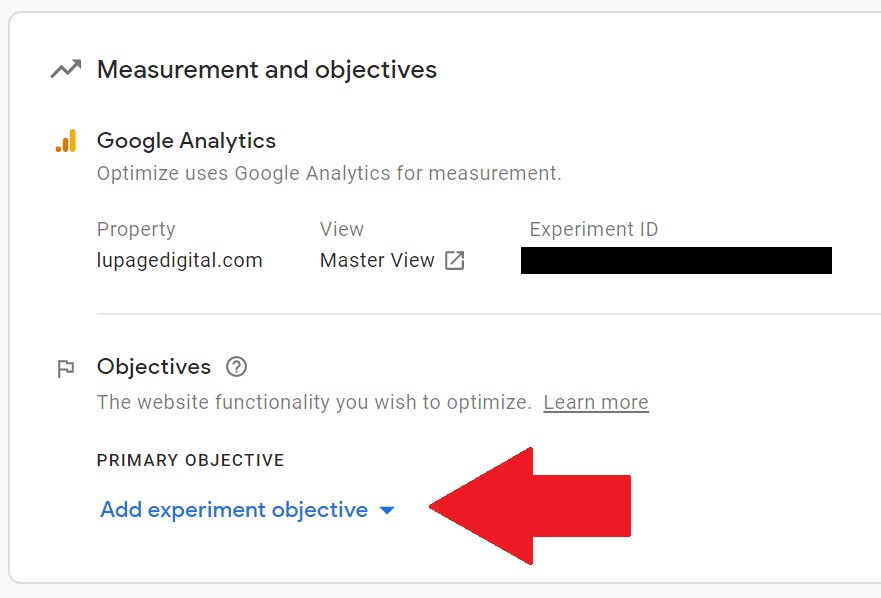
Step 5 – Go to ‘Objectives’. Click ‘Add experiment objective’. Then click ‘Choose from list’ inside.
___________________________________________________________
Use meaningful Google Analytics goals like sign-ups, transactions, or revenue.
Step 6 – Go to ‘Settings’. Click ‘Check installation’ to debug if Google Optimize is installed properly. It checks the tracking code and the anti-flicker code.

Step 7 – Scroll up. Click ‘Start’ to run the experiment. But before that, you need to design the Variant first.

Step 8 – Click ‘Edit’ on the Variant.
The real fun begins…
How to create A/B tests (without bothering a web developer)
HTML, CSS, and JavaScript are needed to change page elements in Google Optimize. It helps if you have some coding skills so you’ll be less reliant on web developers. It’s challenging since it’s a different field.
Here are some examples of A/B tests in using Google Optimize using the WYSIWYG (what you see is what you get) visual editor.
Note: Use the examples below in other A/B testing tools like VWO.
Test 1: Change headline (or any text)
Changing the headline is one of the simplest tests an optimizer can do on the website. This tests increases relevancy and answers user’s query.
Method 1: Edit text
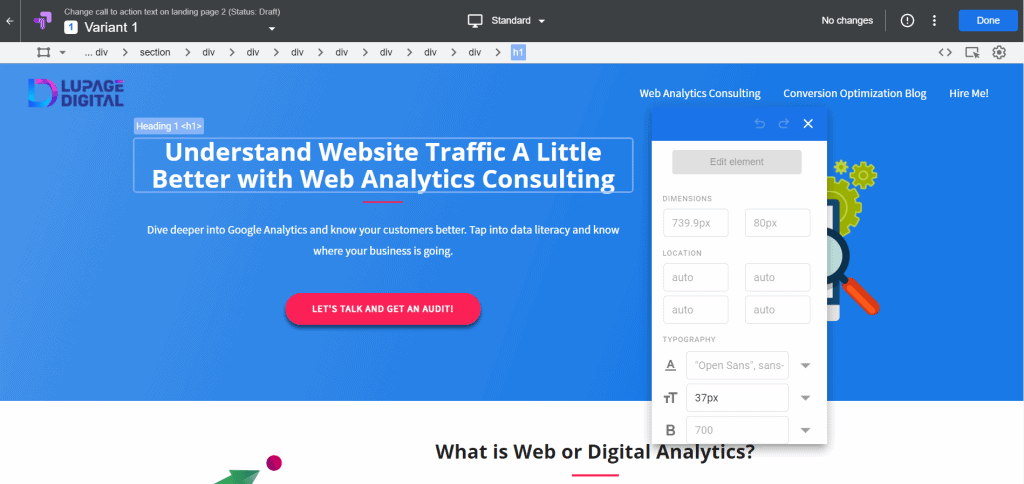
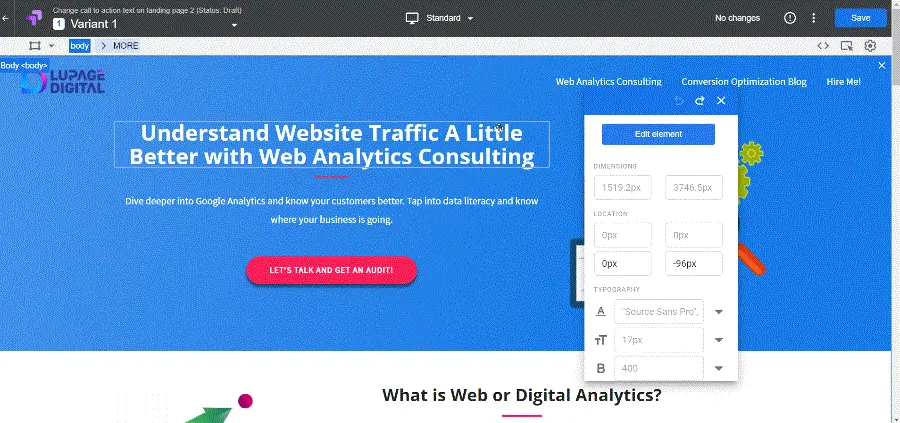
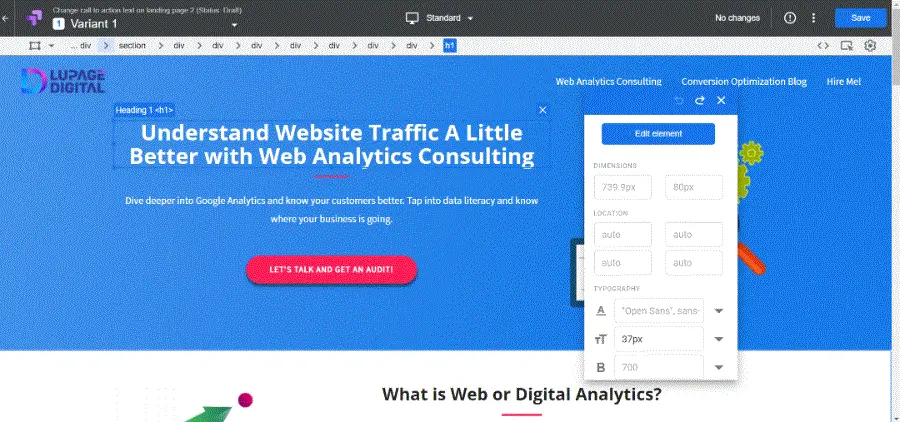
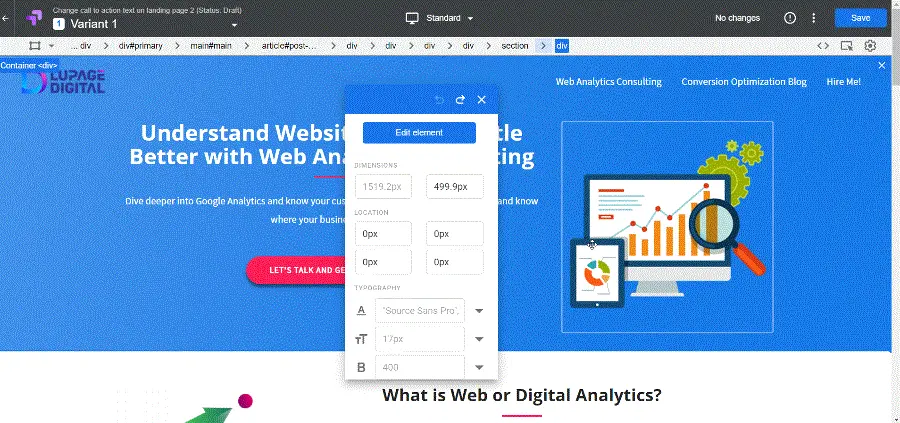
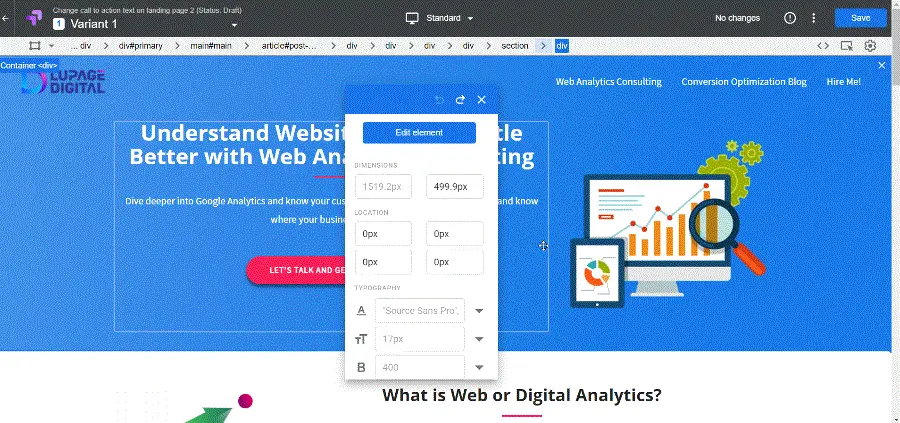
Step 1 – Click and highlight the headline you want to change.
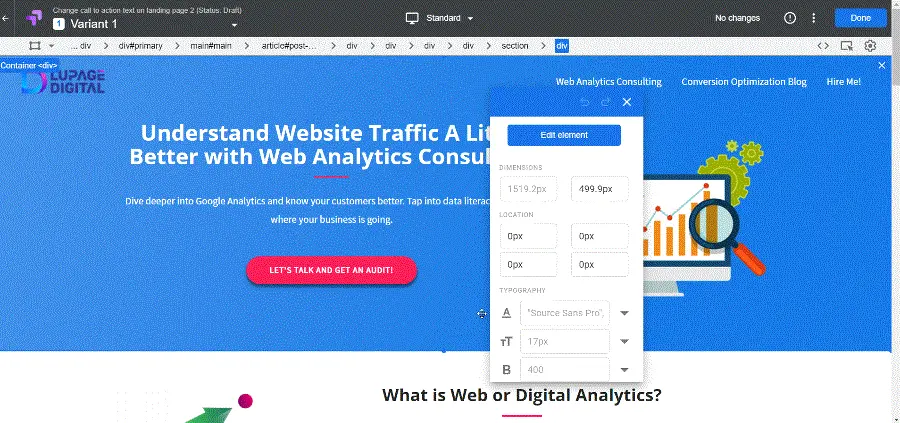
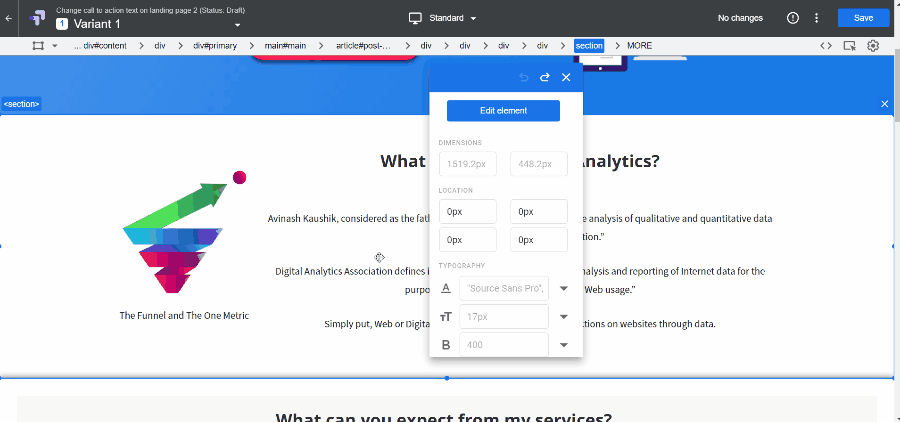
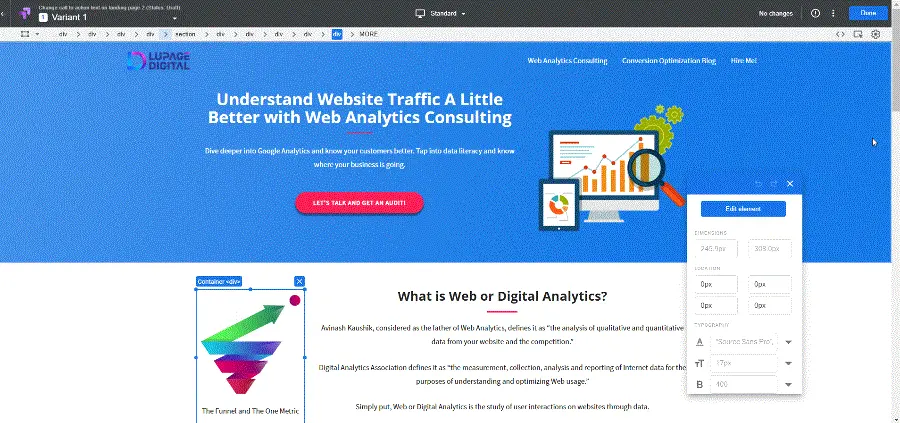
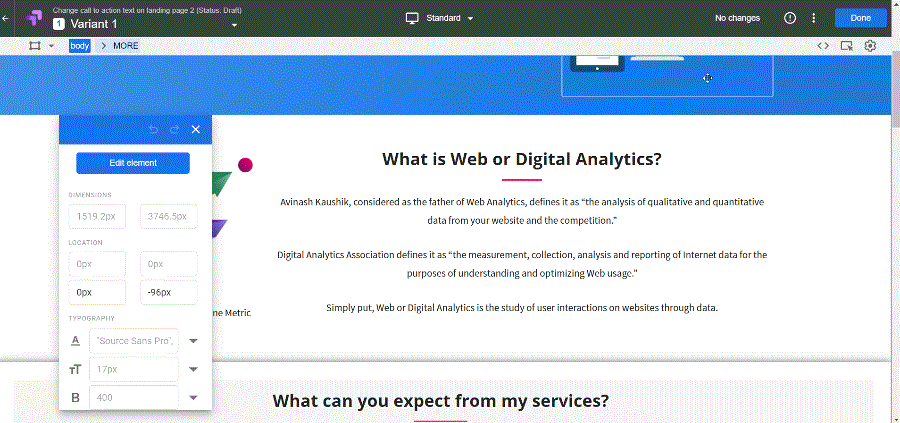
Step 2 – Click ‘Edit element’ or press right-click. Then click ‘Edit text’.
Step 3 – Change the text to what you need.
Step 4 – Click ‘DONE’.
Use this method to change the call-to-action text as well.
Method 2: Edit HTML
Step 1 – Click and highlight the headline you want to change.
Step 2 – Click ‘Edit element’ or press right-click. Then click ‘Edit HTML’.
Step 3 – Find the HTML elements and change the text to what you need.
Use this method to change the call-to-action text as well.
Test 2: Change an image
Another simple test to change a specific image. Testing images is improving information relevancy to your target audience.
Method 1: Edit ‘Source’
Step 1 – Click and highlight the image you want to change.
Step 2 – Change ‘Source’ to the URL where the new image is located. This works only if the image is already uploaded and hosted.
Method 2: Edit HTML
Step 1 – Click and highlight the image you want to change.
Step 2 – Click ‘Edit element’ or press right-click. Then click ‘Edit HTML’.
Step 3 – Find the HTML element and change the image URL source to the one you need.
Test 3: Change call-to-action (or any background) color
Another A/B test among marketers is the call-to-action color. Testing the call-to-action color is improving clarity to your target audience.
Method 1: Edit ‘Background’ field
Step 1 – Click and highlight the CTA you want to change.
Step 2 – Scroll down the visual editor tool and find ‘Background’.
Step 3 – Change the RGB values into the chosen color.
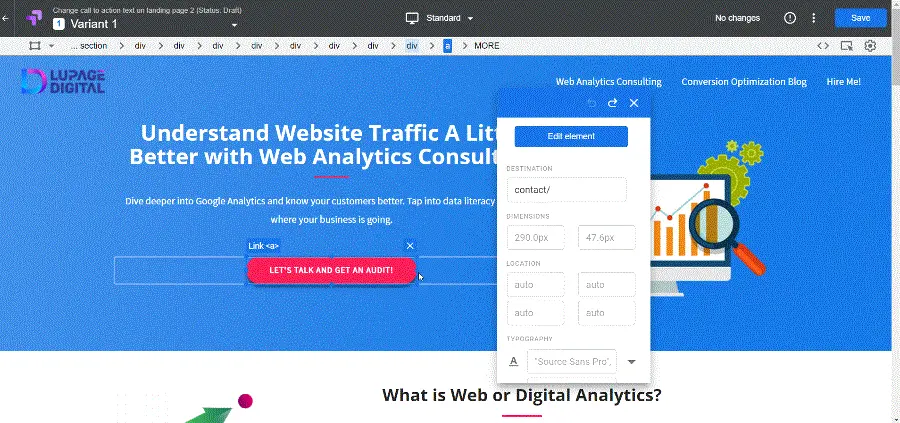
Use this method to change background colors as well. Refer to a color picker if you’re not sure what the color codes are.
Method 2: Run JavaScript
Running JavaScript changes requires an understanding of web development. I recommend you learn little JavaScript to do. This is a case where you need to get help from a web developer.
Step 1 – Click and highlight the CTA you want to change.
Step 2 – Click ‘Edit element’ or press right-click. Then click ‘Run JavaScript’.
Step 3 – Add the JavaScript code and click ‘Apply’.
Below is the code syntax for my website’s CTA:
document.querySelector('.elementor-button-link').style.background = "green"
Learn DOM manipulation to pick the right page element and to write the correct JavaScript code syntax. Use this method to change background colors as well.
The next set of tests are more advanced.
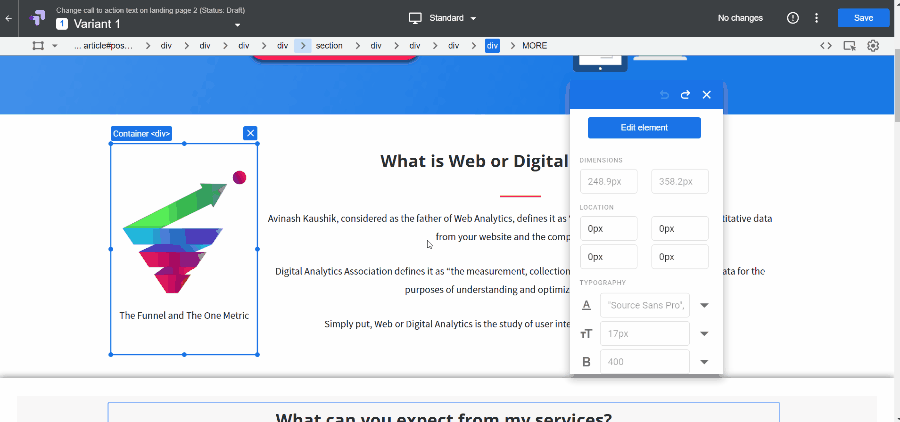
Test 4: Remove an element
Another test is to remove an object or a specific element on the landing page. This is to reduce distractions to the user.
Method 1: Just ‘Remove’
Step 1 – Click and highlight the item you want to remove.
Step 2 – Click ‘Edit element’ or press right-click.
Step 3 – Click ‘Remove’
Method 2: Edit HTML
Step 1 – Click and highlight the item you want to remove.
Step 2 – Click ‘Edit element’ or press right-click. Then click ‘Edit HTML’.
Step 3 – Find the HTML element and delete it.
Method 3: Run JavaScript
Step 1 – Click and highlight the item you want to remove.
Step 2 -Click ‘Edit element’ or press right-click. Then click ‘Run JavaScript’.
Step 3 – Add the JavaScript code and click ‘Apply’. In most cases, you’ll use the remove() JavaScript function.
Below is the code syntax I added in Google Optimize:
document.querySelectorAll('.elementor-widget-wrap')[2].remove()
Test 5: Add a call-to-action (or any element) on the page
Another test is to add a call-to-action on a landing page. This is another technique to increase conversions as it gives clarity to users.
This requires going in Chrome DevTools to know the HTML element of the call-to-action.
Step 1 – Open a new browser tab where you are not logged-in to Google Optimize.
Step 2- Go to the web page where the test is.
Step 3 – Press right-click
Step 4 – Click ‘Inspect’. This is the developer tool of Google Chrome called Chrome DevTools.
Step 5 – Find the HTML elements of the call-to-action you want to run the test with.
Method 1: Edit HTML
Step 1 – Click and highlight the item you want to remove.
Step 2 – Click ‘Edit element’ or press right-click. Then click ‘Edit HTML’.
Step 3 – Add the HTML code where you need to add the call-to-action. Be careful on this part as it might give the incorrect outcome.
Other objects that you need to add will have a different HTML markup.
Method 2: Run JavaScript
Step 1 – Click and highlight the CTA you want to change.
Step 2 – Click ‘Edit element’ or press right-click. Then click ‘Run JavaScript’.
Step 3 – Add the JavaScript code and click ‘Apply’.
Below is the code syntax that I added in Google Optimize:
let container = document.querySelectorAll(".elementor-widget-container")[5]
let ctaButton = document.querySelector(".elementor-element.elementor-element-6d0d9cb.elementor-align-center.elementor-widget.elementor-widget-button")
container.appendChild(ctaButton)
Other objects that you need to add will have a different HTML and JavaScript code syntax.
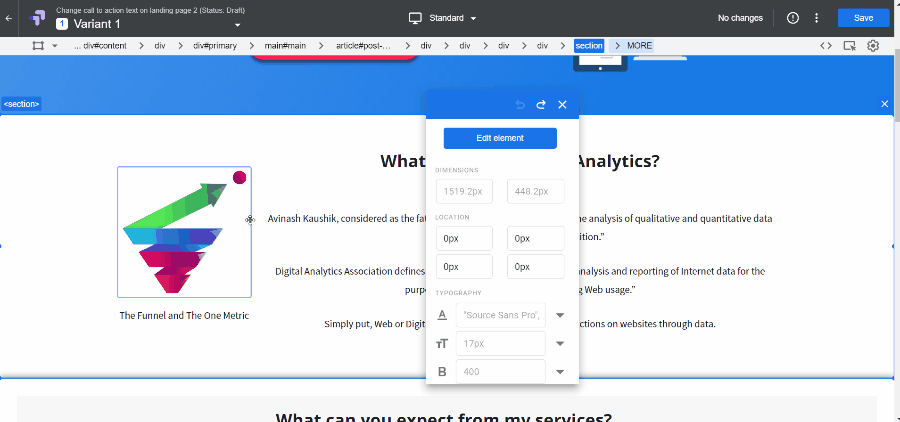
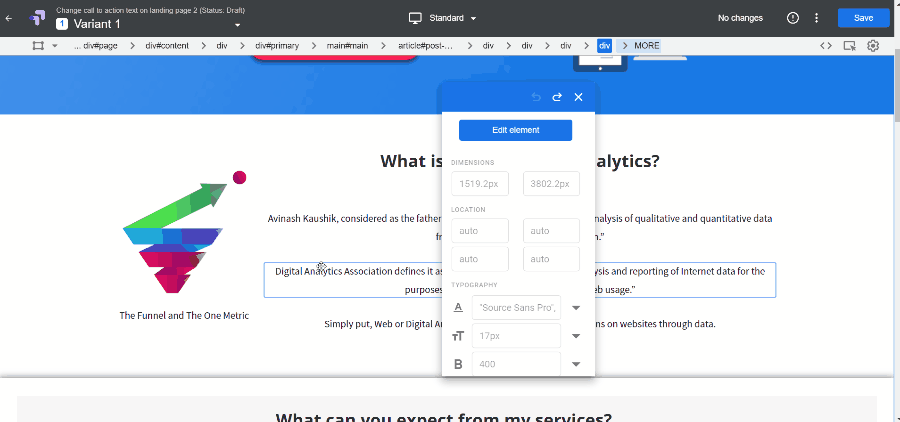
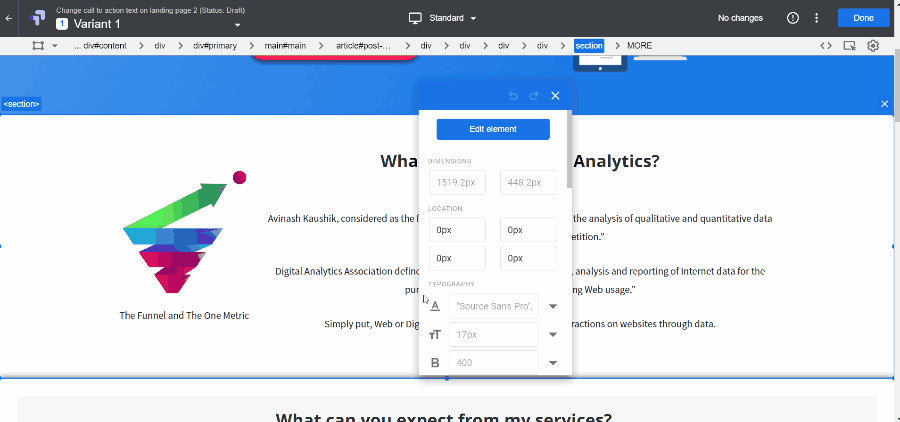
Test 6: Add an entire section higher on the page
An advanced test is to add an entire section somewhere on a landing page. Putting the reviews section higher on the web page is an example of this. This is one of the experiments to increase conversions.
The only way to do this effectively is to run JavaScript changes similar to Test 5.
Step 1 – Open a new browser tab where you are not logged-in to Google Optimize.
Step 2- Go to the web page where the test is.
Step 3 – Press right-click
Step 4 – Click ‘Inspect’. This is the developer tool of Google Chrome called Chrome DevTools and this is what’s happening under the hood.
Step 5 – Find the HTML elements that houses the entire section you want to run the test with.
Step 6 – Write the JavaScript code syntax. Below is the code syntax for my website that I added in Google Optimize.
let header = document.querySelector('.elementor-section-wrap')let intro = document.querySelector('.elementor-element-5c31627')let services = document.querySelector('.elementor-element-0aa0836')header.insertBefore(services, intro)
Step 7 – Go back to Google Optimize
Step 8 – Run JavaScript on the entire body element of the test.
Test 7: Turn paragraphs into boxes
Another change I’d like to do is to turn long lines of paragraphs into boxes. The hypothesis for this test is to increase the readability of important content. These are the value proposition of the website usually.
I’ll turn the intro paragraphs of my website into boxes for this example. The method is the same as Test 4. The difference is the HTML element and JavaScript code.
Below is the code syntax that I added in Google Optimize:
let box = document.querySelectorAll('.elementor-text-editor.elementor-clearfix')[1]
box.style.display = "flex"
let boxEach = document.querySelectorAll('.boxes')
boxEach.forEach((i)=>{
i.style.flex = 1;
i.style.textAlign = 'center';
i.style.border = 'solid 1px lightgray';
i.style.borderRadius = '20px';
})
In some cases, it’s better to just code the web page from the ground up and do a redirect test. Work with web developers if drastic changes are needed.
The ‘Reorder’ feature
Using Google Optimize does have the capability to make re-arranging web page elements seamless.
Turn off the Reorder feature on the upper right corner. Click the gear icon on the upper right and you’ll see it.
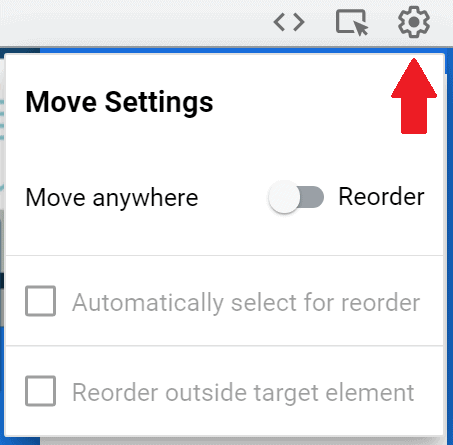
I would caution the use of this as it could bring more annoyance since it ‘breaks’ the web page in unexpected ways.
Conclusion: Run Google Optimize A/B Tests at Scale
A/B tests are important in conversion optimization. There are many A/B testing tools out there and using Google Optimize is not the only one. There are tools like VWO, Optimizely, and Convert that run A/B tests at scale. These tools have different user interfaces, but the methods are similar.
This post may not solve all the problems, but I’d hope that it leads in the right direction. Remember that an A/B test is just one component. User research, design, KPIs, hypotheses, and analytics are important before A/B tests.