
“How do I delete multiple rows in Google Sheets”
Analyst
“How do I remove a column in Google Sheets?”
“How to delete empty rows in Google Sheets?”
Google Sheets is important in the workplace, especially for web analysts. Like Microsoft Word or Microsoft Excel, Google Sheets is undeniably part of the office workflow. It’s a rare occurrence that you DO NOT come across Google Sheets or any spreadsheet in your work.
That said, Google Sheets is a melting pot of features like writing formulas. And most people don’t know about some nifty features. Most are overlooked or they need a refresher. Deleting or removing columns or rows in Google Sheets shouldn’t be hard
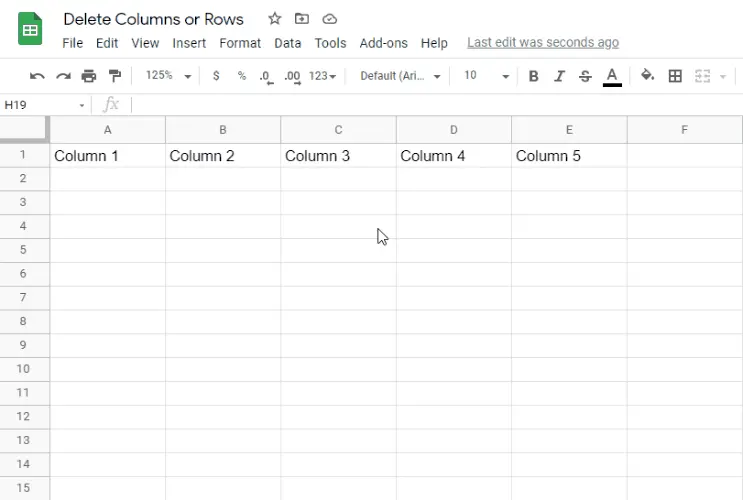
That being said, let’s start. Create a new Google Sheets file on your computer.
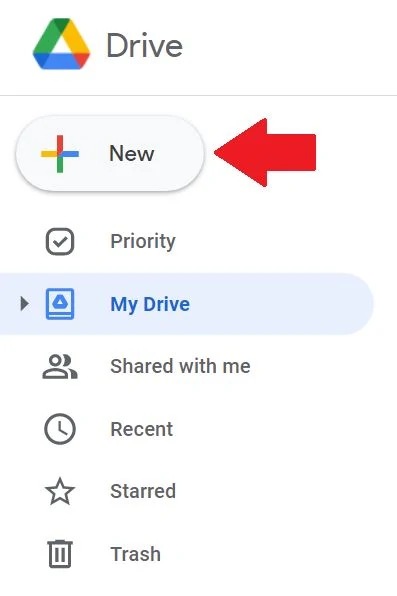
1 – Go to your Google Drive workspace.
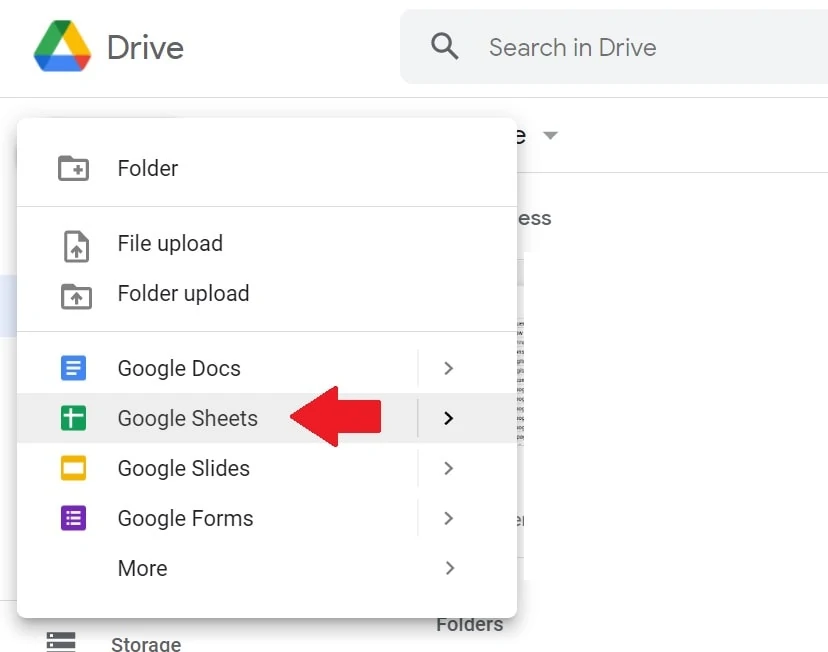
2 – Click ‘+ New’ then create a new Google Sheets file.
Delete Columns or Rows in Google Sheets
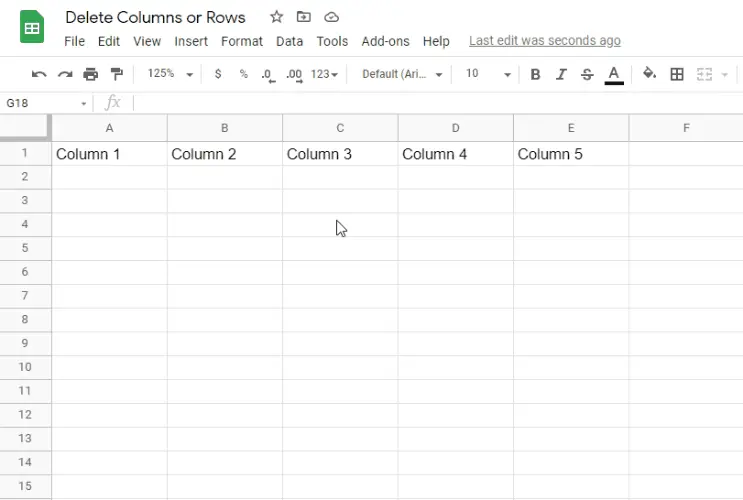
In this article, you’ll learn how to delete columns and rows in a spreadsheet without fancy formulas. There are super easy ways to remove columns in Google Sheets. You can also add columns and rows. In this article, we’ll demonstrate how to delete columns first then demonstrate rows after.
Delete Columns In Google Sheets Using Taskbar or Menu
We’ll tackle how to remove columns first. Below are the different methods. Remember that columns contain the vertical data that goes from top to bottom.
Method 1: Delete Columns In Google Sheets Using Taskbar or Menu
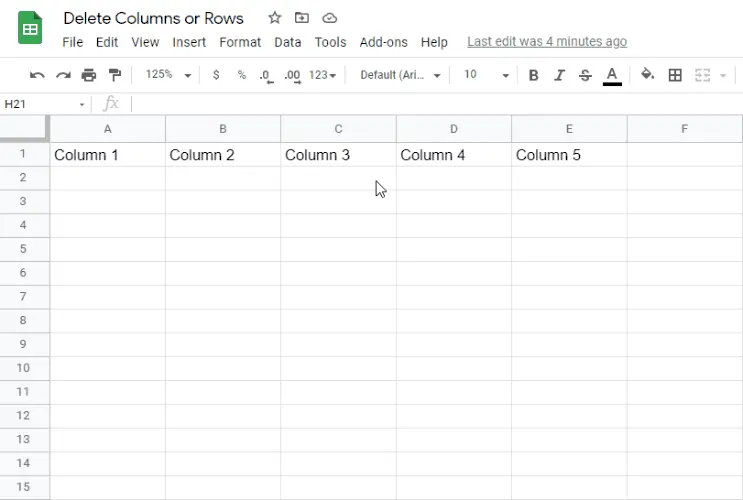
1 – Go to the cell of the column you want to delete.
2 – Go to the taskbar or menu at the top and click “Edit”.
3 – Click “Delete column…”. In this example, it’s column C.
This is the first method to delete a column. Note that this removes one column only. If you prefer to delete more columns, highlight more cells horizontally. If you highlight five cells and do the process, you delete five columns.
Method 2: Delete Columns Using Manual Clicking
1 – Go to the column you want to delete.
2 – Click the letter of that column stated at the top. This highlights the entire column.
3 – Right-click.
4 – Click “Delete column”. In case you’re wondering, “Delete column” is the correct one while “Clear column” only clears the cells to an empty column.
This is the second method to delete a column. Like the previous method, this removes one column only. If you prefer to delete multiple columns, highlight more columns. If you highlight five columns and do the process, you remove five columns.
Method 3: Delete Columns Using Keyboard Shortcuts
1 – Go to the cell of the column you want to delete a column beside.
2 – For PC users, press CTRL + SPACEBAR. For Mac users, press CONTROL + SPACEBAR. This highlights the entire column.
3 – For PC users, press CTRL + MINUS KEY. For Mac users, CONTROL + MINUS KEY.
That’s it! Deleting columns shouldn’t be that hard in Google Sheets. Note that you can mix the methods to suit your workflow. For example, you can use Method 2 in highlighting the columns but then use Method 3 to delete.
Next is deleting rows…
How To Delete Rows in Google Sheets
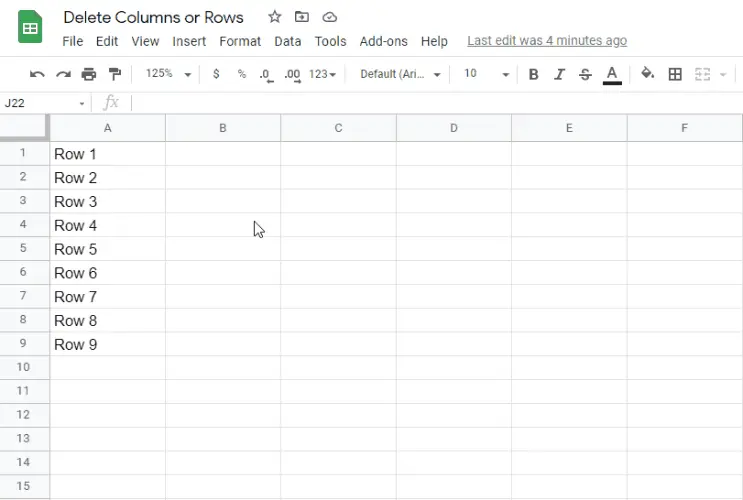
We’ll now tackle how to delete rows. Remember that rows contain the horizontal data that goes from left to right. The steps of deleting rows are identical to deleting columns. And they are super easy to do.
Method 1: Delete Rows Using Taskbar or Menu
1 – Go to the cell of the row you want to delete.
2 – Go to the taskbar or menu at the top and click “Insert”.
3 – Click “Delete row…”. In this example, it’s row 4.
This is the first method to delete a row. Note that this removes one row only. If you prefer to delete multiple rows, highlight more cells vertically. If you highlight five cells and do the process, you remove five rows.
Method 2: Delete Rows Using Manual Clicking
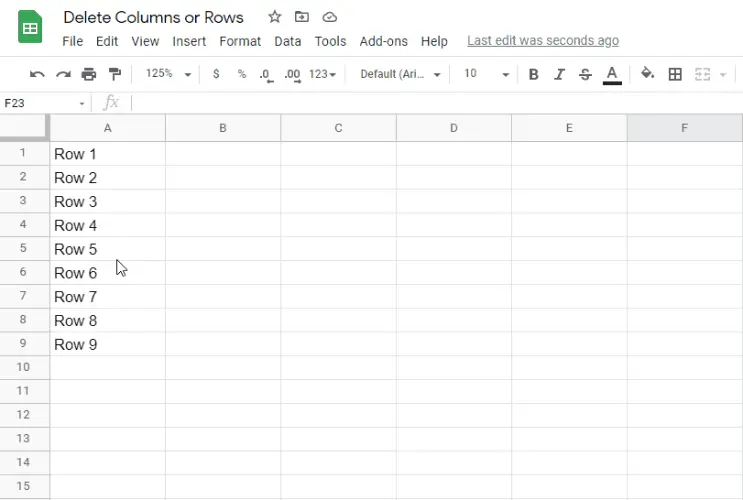
1 – Go to the row you want to delete.
2 – Click the number of that row stated on the left side. This highlights the entire row.
3 – Right-click.
4 – Click “Delete row”.
This is the second method to delete a row. Like the previous method, this removes one row only. If you prefer to delete multiple rows, highlight more rows. If you highlight five rows and do the process, you remove five rows.
Method 3: Delete Rows Using Keyboard Shortcuts
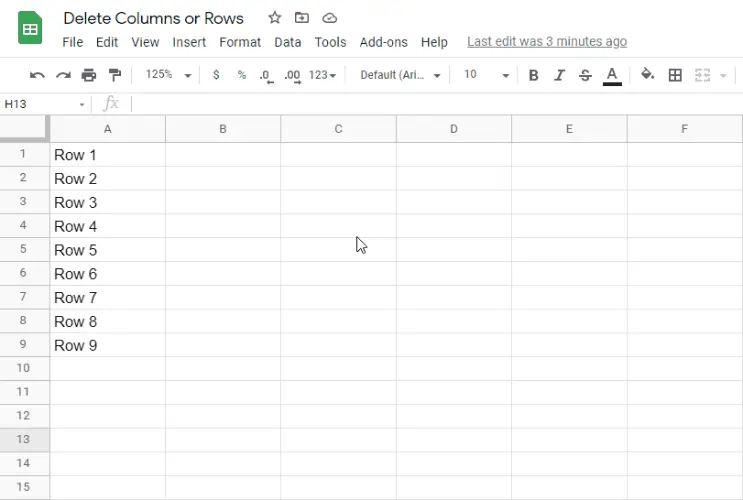
1 – Go to the cell of the row you want to delete.
2 – For PC users, press SHIFT + SPACEBAR. For Mac users, press SHIFT + SPACEBAR as well. This highlights the entire row.
3 – For PC users, press CTRL + MINUS KEY. For Mac users, CONTROL + MINUS KEY.
That’s it! Deleting rows shouldn’t be that hard in Google Sheets. Note that you can mix the methods to suit your workflow. For example, you can use Method 2 in highlighting the rows but then use Method 3 to delete.
Tip: How To Use Columns and Rows in SEO Website Migrations
Website migrations often require creating a URL mapping sheet to track old and new URLs. Removing unnecessary or irrelevant rows, such as broken pages with no replacements, keeps the sheet organized and actionable. SEO website migration consultations ensure a smooth transition by providing you with Google Sheets templates, and applying best practices to maintain search rankings and site performance.
Conclusion: Google Sheets is Easy To Use
Deleting columns or rows in Google Sheets doesn’t need any formula. Whether you’re acquiring data or cleaning data, Google Sheets isn’t hard to use. You need to contextualize what you need to get the most out of it. Google Sheets is a popular and powerful tool in the workplace. When used properly, it’s powerful to automate many things in your workflow.